


Tray and Sleeve Design Tips: Create Protective and Premium Packaging
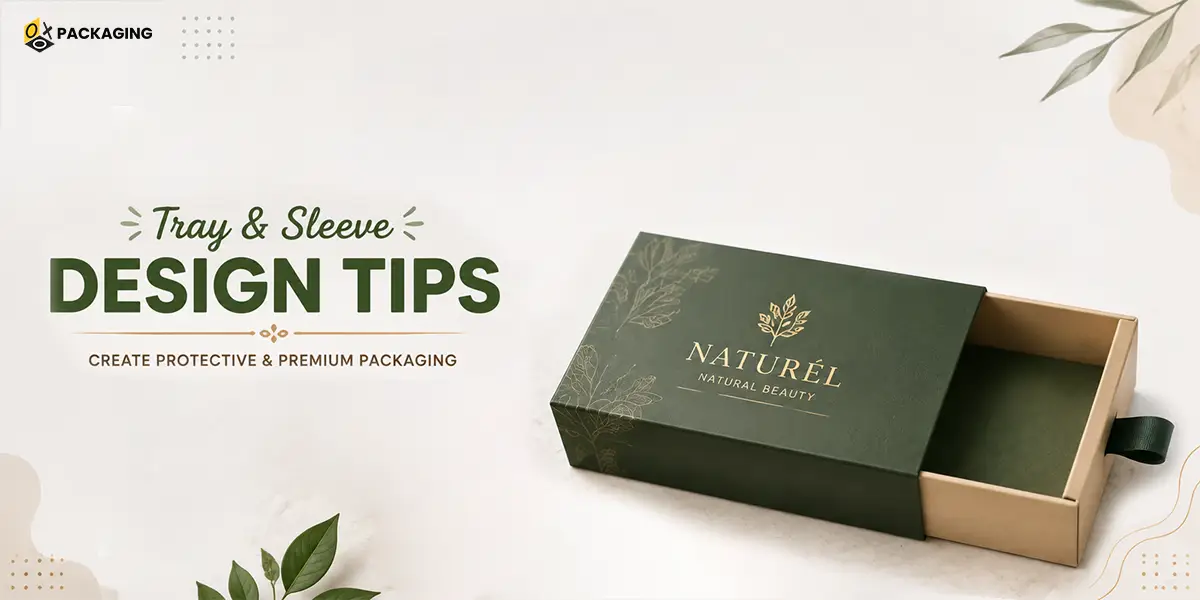
Tray and sleeve boxes are popular packaging choices for brands that want a balance of style, protection, and functionality. This packaging format combines an inner tray with an outer sleeve to create a practical sliding structure. The customer simply pulls the tray from the sleeve to access the product.
A well-designed tray and sleeve packaging solution can make products look more premium while improving the overall unboxing experience. However, successful packaging requires more than an attractive print design. You must consider product dimensions, materials, structural design, sliding clearance, board thickness, and finishing options.
Whether you package cosmetics, candles, jewellery, electronics, confectionery, or retail products. These design tips can help you create packaging that performs well and looks professional.
Start with Accurate Product Dimensions
The first step in designing custom tray and sleeve boxes is measuring the product accurately. Record its length, width, height, and any unusual features that may affect the fit.
Accurate product dimensions help you create packaging that holds the product securely without wasting material or space. If the box is too tight, the product may become difficult to insert or remove. If it is too loose, it may move around during handling and shipping.
Consider the following when taking measurements:
- Product length, width, and height
- Fragile or protruding components
- Product weight
- Required protective space
- Placement of labels or accessories
- Space required for custom inserts
These details provide the foundation for an effective structural design.
Choose the Right Board Material
Material selection directly affects the appearance, strength, and performance of your packaging. Different products require different levels of durability. Rigid board is ideal for premium products. It offers excellent strength and creates a luxurious appearance.
It is commonly used for jewellery, cosmetics, electronics, and high-end gifts. Paperboard is lighter and more flexible; it works well for many retail products where moderate strength and cost-efficiency are important.
Kraft board offers a natural appearance and supports brands with an eco-conscious image. It can be printed with minimal or detailed artwork depending on the desired look.
For heavier products or products that need additional protection, corrugated board can provide increased strength and cushioning. Your packaging supplier can recommend the most suitable board based on your product and shipping requirements.
Design the Inner Tray Carefully
The inner tray divides the product. Its dimensions should allow the product to sit securely while still being easy to remove.
You can also include custom inserts to prevent movement. Inserts are particularly useful for fragile products, multiple items, bottles, and products with unusual shapes.
Common insert options include:
Cardboard dividers
- Cardboard dividers
- Die-cut paperboard inserts
- Foam inserts
- Moulded pulp inserts
- Folded board supports
The insert should complement the tray rather than make product removal difficult. A good design keeps the product secure while maintaining a clean presentation.
Plan the outer Sleeve For Easy Movement
The outer sleeve surrounds the inner tray and creates the sliding structure. Its construction must be precise because the customer interacts with this part of the package during opening.
The sliding mechanism should feel smooth without being excessively loose. If the sleeve is too tight, customers may struggle to open the package. If it is loose, the tray may slide out unexpectedly.
This is where sliding clearance becomes important. Allow enough space for smooth movement while maintaining a secure fit. The correct clearance depends on the material, board thickness, dimensions, and finishing process.
Testing the actual structure is essential before moving to mass production.
Consider Board Thickness
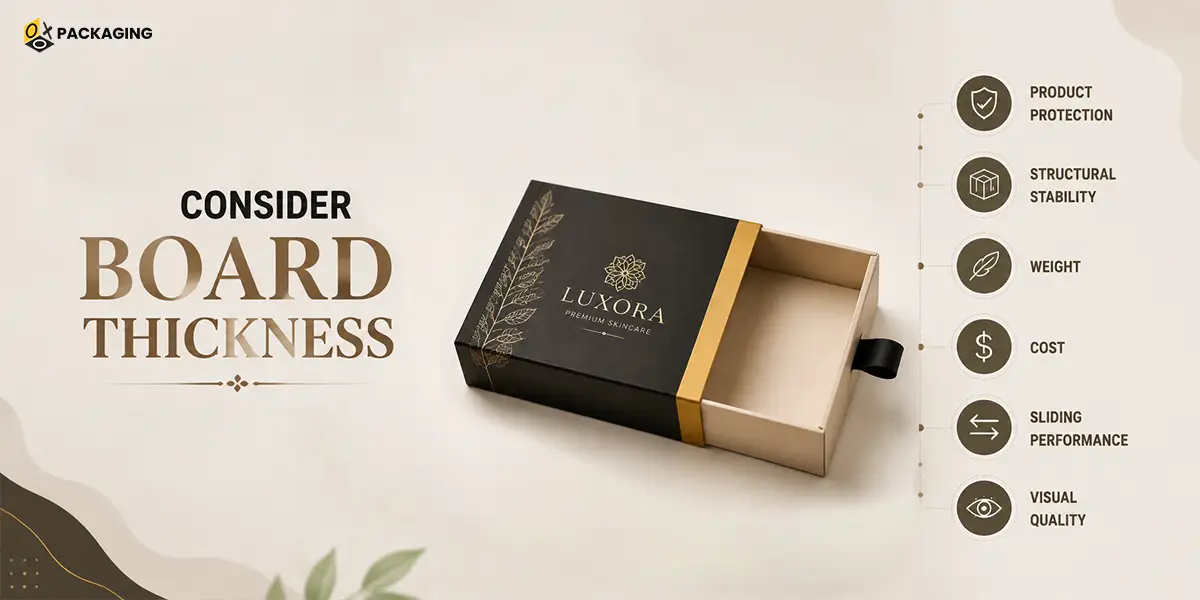
Board thickness affects both strength and functionality. A thicker material may provide better protection, but it can also change the internal dimensions and sliding performance.
For example, a rigid board structure may require different tolerances compared with lightweight paperboard. The thickness should therefore be considered when creating the packaging dieline.
Avoid selecting the thickest board simply because it appears stronger. Instead, choose a thickness that provides the right balance of:
- Product protection
- Structural stability
- Weight
- Cost
- Sliding performance
- Visual quality
Create an Accurate Packaging Dieline
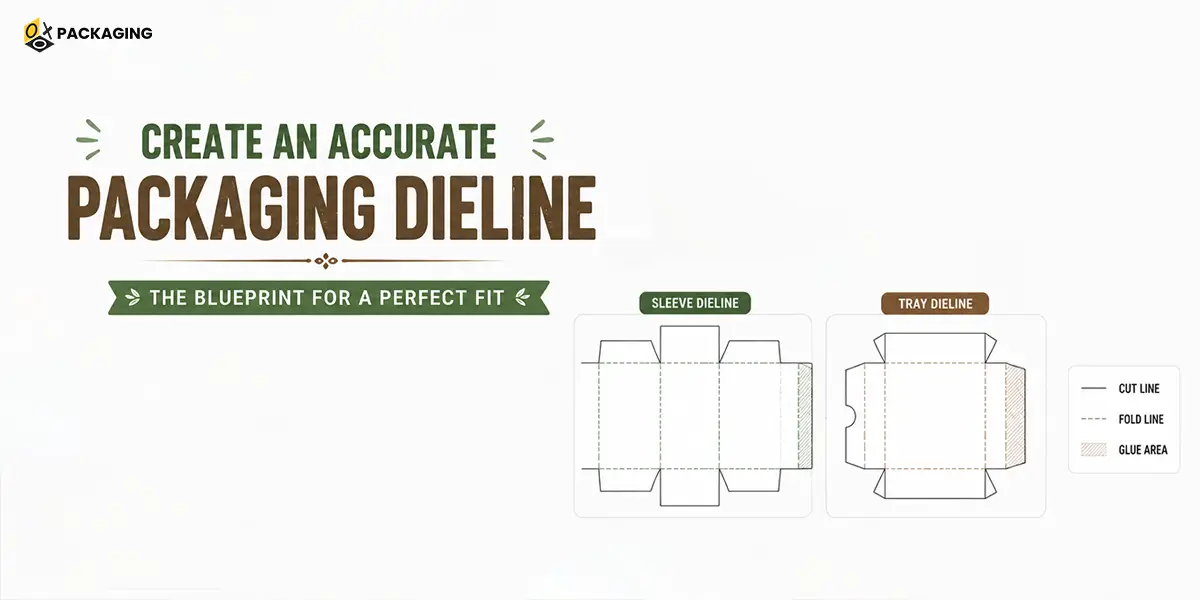
A packaging dieline provides the technical blueprint for your box. It shows the cutting lines, folding lines, panels, flaps, and other structural details.
For tray and sleeve boxes, the dieline must account for both components. Even a small structural error can affect how the tray fits inside the sleeve.
The dieline should consider:
- Product measurements
- Board thickness
- Folding areas
- Glue points
- Sliding clearance
- Insert placement
- Printing areas
- Finishing requirements
Do not finalise artwork before confirming the structural dieline. Structural accuracy should always come first.
Create an Accurate Packaging Dieline
A packaging dieline provides the technical blueprint for your box. It shows the cutting lines, folding lines, panels, flaps, and other structural details.
For tray and sleeve boxes, the dieline must account for both components. Even a small structural error can affect how the tray fits inside the sleeve.
The dieline should consider:
- Product measurements
- Board thickness
- Folding areas
- Glue points
- Sliding clearance
- Insert placement
- Printing areas
- Finishing requirements
Add Premium Finishing Details
Finishing can transform simple packaging into a more sophisticated presentation. Options include matte and gloss coatings, embossing, Spot UV, and foil stamping.
Foil stamping can highlight logos, product names, or important design elements. Metallic effects are particularly effective for luxury cosmetics, jewellery, fragrances, and gift products.
However, avoid using too many finishes at once. A clean combination of printing and finishing often creates a stronger visual impact than an overloaded design.
Conclusion:
Creating tray and sleeve boxes means finding the right mix between how it is built, what it is made of, how it shows the brand, and how easy it is to use. Begin by getting the size of the product and choosing the best board for it. Then pay attention to the tray, the outside sleeve, how it slides, and the packaging shape.
Always check the way it is built by making a sample before starting to make a lot of them. When the way it is built is correct, use printing and finishing touches, like shiny printing, to make the brand stand out more.
When all the parts work together, tray and sleeve packaging can keep the product safe and also give a nice and unforgettable first look when someone opens it. For brands that want packaging that's useful but also feels high quality, this style offers a great mix of being useful and looking good.
Tray and sleeve boxes consist of an inner tray that slides into an outer sleeve. They offer a premium presentation, easy opening, and reliable product protection.
Common materials include rigid board, paperboard, Kraft board, and corrugated board. The best option depends on the product's weight, protection needs, and desired appearance.
Accurate product dimensions, proper board thickness, and sufficient sliding clearance are essential. Creating a prototype also helps test and adjust the fit before production.
Yes, brands can customize the size, structure, inserts, printing, colours, and finishes. Options such as foil stamping can further enhance the packaging's premium appearance.







 Let's Call