


How to Attach Hang Tags with a Tag Gun, String, or a Safety Pin?
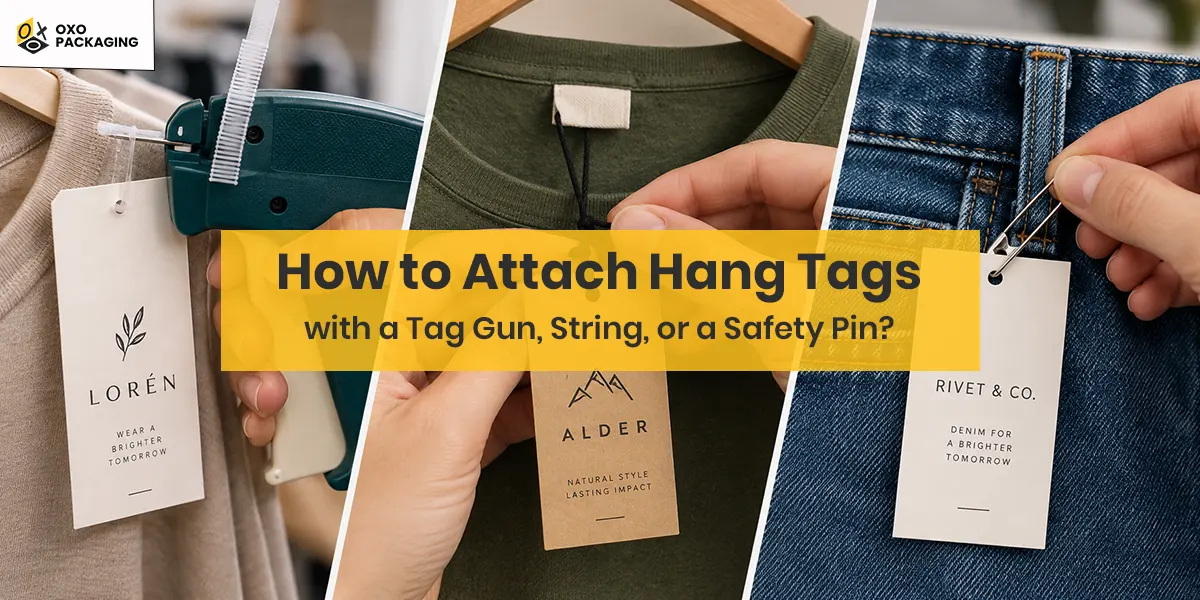
You merely see the clothes on the shopping racks without having hang tags on them. Yes. Custom hang tags are attached for a reason: they carry the brand and talk to the customer before the garment is even tried on. But do you know how to attach a hang tag string lock? If not, don’t worry; here in this blog, we’ll explore the multiple methods that you can consider for your packaging processes.
Manual Vs. Automated Systems for Hang Tag Integrations

The integration of the hang tag can either be executed through the machine or by hand. Both of the methods have their pros and cons, but the usage can vary as per the brand’s packaging requirements. For low volumes, the non-gun methods can be utilized, while for bulk jobs, the machine is the best option to improve operational efficiency.
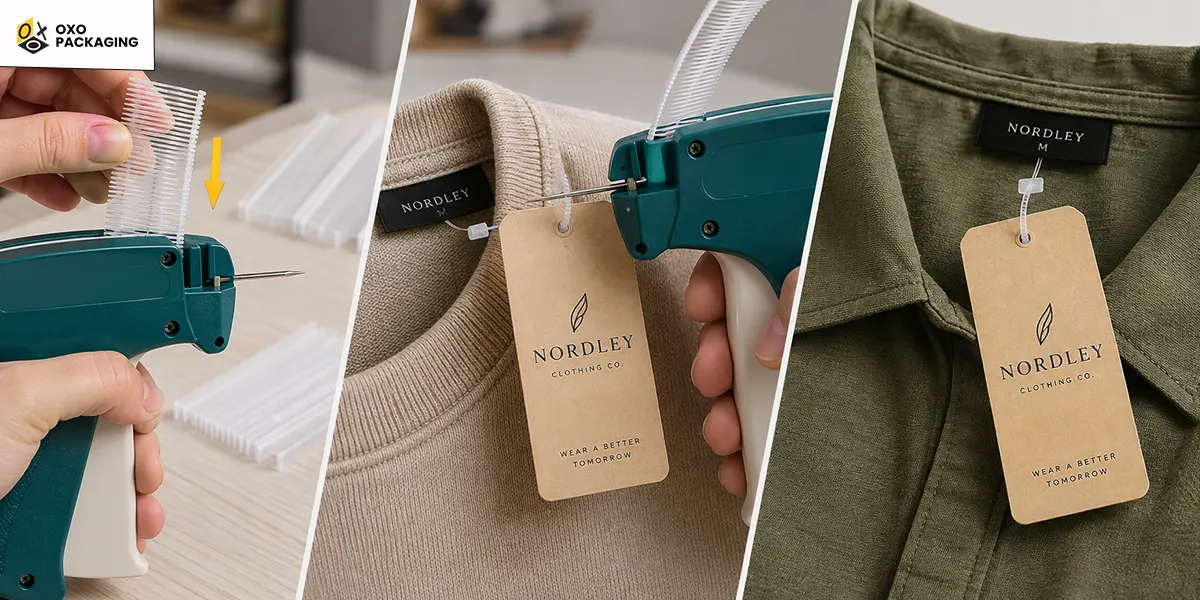
If you have no idea how to use a tagging gun, don’t worry; the steps to use it are simple and easy. Just follow them in sequence:
- First, load plastic fasteners into the top slot of the gun so you won’t have to load them midway.
- Now insert the needle through the label, or it can be the buttonhole or the inside seam, which is already die-cut.
- It’s better to avoid punching the plastic barb on the main front fabric as it can leave permanent holes there.
Method # 2: Hang Tags with String Attached
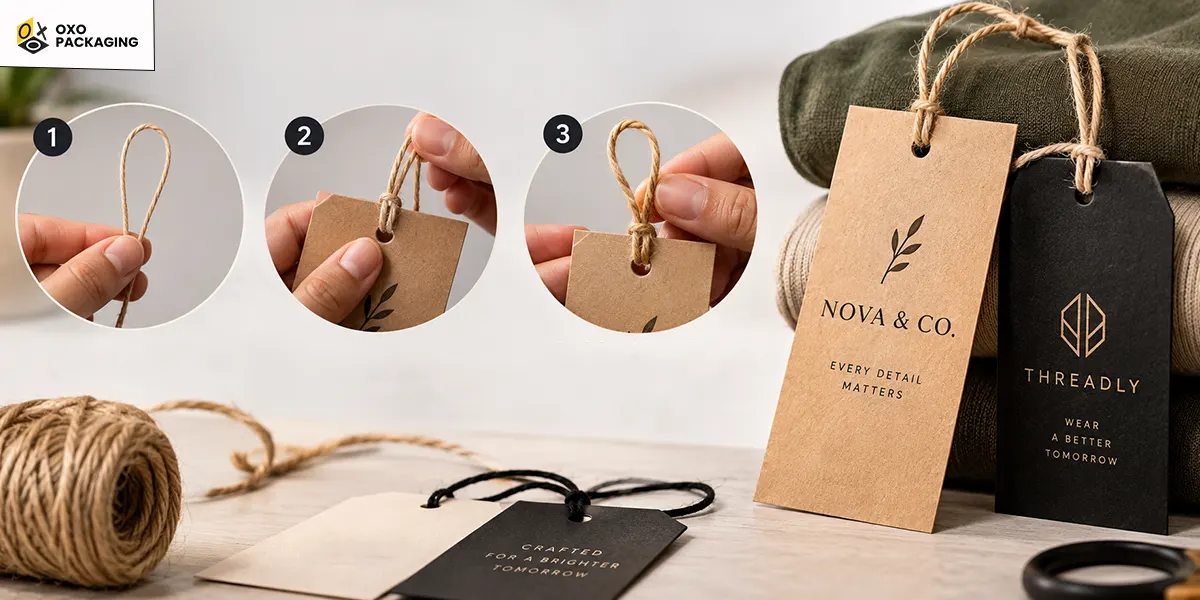
Secondly, the string or twine method or order hang tags with string pre-attached and skip the step entirely.
- Take a 7–8 inch piece of cotton, waxed or elastic hang tag string and slip it through the punched hole a 1/8 inch hang tag hole size suits most strings located at the centre or corner of the tag
- Special Way: Other than the basic methods, you can benefit from the anchored loop method in which you fold the string in half and push the loop through the tag hole. This will create an anchor-style knot which won’t open unless the same method is reversed.
Method # 3: Hang Tags with Safety Pin
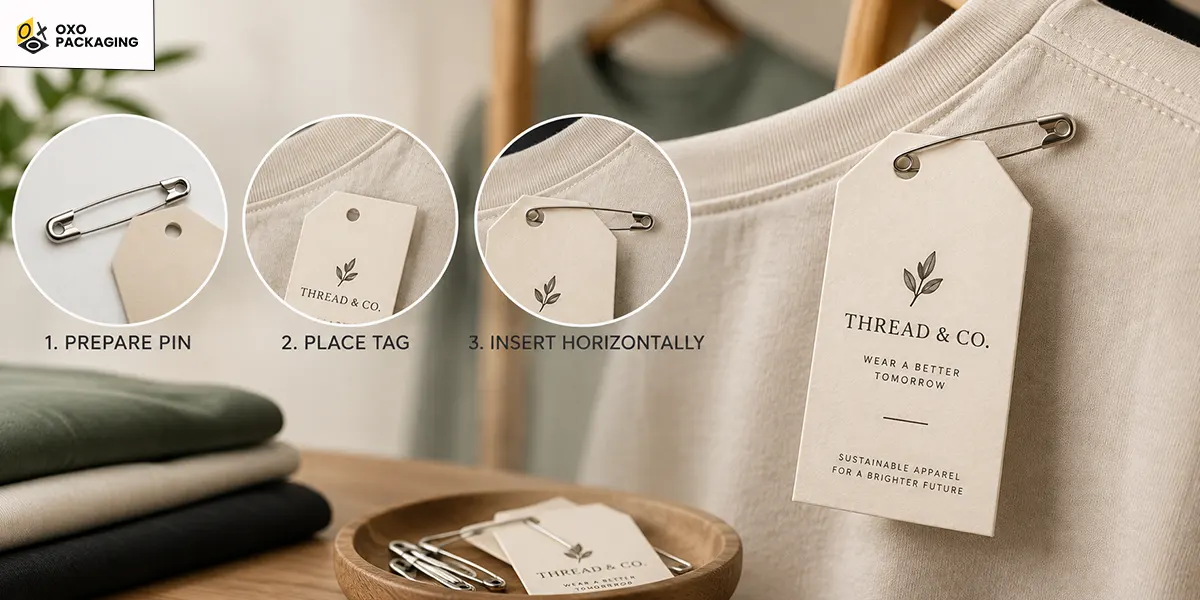
Another mechanical method you can use is the use of a safety pin. It’s a smart way to lock the tags to the apparel. Below are the steps you can follow to execute this the best way:
- Take a standard 1.5 to 2 inch safety pin, as it won't tear paper tags or leave oversized holes.
- Now place the tag on the upper right side of the clothing item where you want to integrate these tags.
- After that, insert the pin horizontally, ensuring it passes through the tag and the fabric. Do this to minimize the risk of tear-off during handling of the clothes from one place to another.
The Ideal Placement of Hang Tags on the Apparel or Anything
Are you confused about how to put hang tags on shirts? Or where to put hang tags on shirts? We know this can create a hassle for you if you want to achieve factory-level perfection, but don’t worry; you can use the table below to find the optimal spots to attach clothing hang tags at factory-level consistency.
|
Apparel & Accessories Tag Placement |
|||
|
Item Type |
Primary Placement |
Secondary Placement |
Attachment Method |
|
Shirts & Tops |
Left sleeve cuff |
Inside back neck label |
Safety pin or plastic fastener |
|
Pants & Jeans |
Back right waistband belt loop |
Back pocket seam |
Plastic fastener or nylon string |
|
Dresses & Skirts |
Left side seam near the waist |
Inside back neck label or zipper pull |
Safety pin or fastener |
|
Jackets & Coats |
Inside neck label |
Left sleeve cuff or zipper pull |
Ribbon, string, or heavy-duty plastic fastener |
|
Swimwear & Intimates |
Inside care label |
Side seam allowance |
Plastic fastener (never pierce the main fabric) |
|
Hats & Caps |
Back adjustment strap |
Inside sweatband seam |
Plastic fastener |
|
Socks |
Top cuff holding the pair together |
Center cardboard header |
Plastic Kimble tag or stitching |
Non-Apparel Items
Beyond the clothing items below are some additional products in which you should attach the tags as per their best spots.
|
Item Type |
Primary Placement |
Secondary Placement |
Attachment Method |
|
Bags & Purses |
Main zipper pulls |
Handle or shoulder strap ring |
Ribbon, cord, or leather strap loop |
|
Shoes & Footwear |
Eyelet (lace hole) |
Heel loop |
String, twine, or plastic loop |
|
Home Textiles (Blankets, Towels) |
Corner care label |
Ribbon wrapping the folded product |
Ribbon or fine plastic fastener |
The Bottom Line
All in all, we hope now you’re not only aware of how to attach the hang tag on your products but also understand the best placement techniques. If you want to get these strings or tags for your brand items, you can avail them in tailored designs from OXO Packaging. We’ve got you covered with a range of options that fit well for your offerings. So, why wait? Ping us today by calling (510) 500-9533 or writing your query to sales@oxopackaging.com to get a detailed response.
One of the easiest ways to attach the hang tags is the swing tag cords with snap locks. If you’re looking for a way on how to put hang tags on clothes without a tool, it’s a must-try for you.
The opening of the tag depends upon its fastening features, but the method it’s being attached has nothing to do with it.
Among manual or automatic methods, a tagging gun is one of the quickest ways to attach the tags and achieve high-quality output with minimal errors.
Since most of the pins are made from plastic, they’re only for one-time use. That’s why it can be reused multiple times.







 Let's Call