A Comprehensive Guide on How to Customize Jewelry Boxes

Whether you are a small or large jewelry brand, fitting in is a failure in a crowded marketplace. If you aren’t trying to stand out, you are invisible in the market. Seth Godin, market expert, revealed this harsh truth.
But the question arises, how to stand out in a saturated jewelry market? Well, the answer is quite simple with customization. Because generic jewelry boxes go unnoticed in the market. But turn the tables and win buyer attention by customizing jewelry boxes.
Wondering how? Read this blog to learn how to customize jewelry boxes to boost your brand visibility and profitability!
Why Customize Jewelry Boxes?
Before jumping right into how to customize jewelry boxes, first understand why custom jewelry boxes are essential for your business. By customizing jewelry boxes, you can enhance your brand recall and recognition in a competitive market.
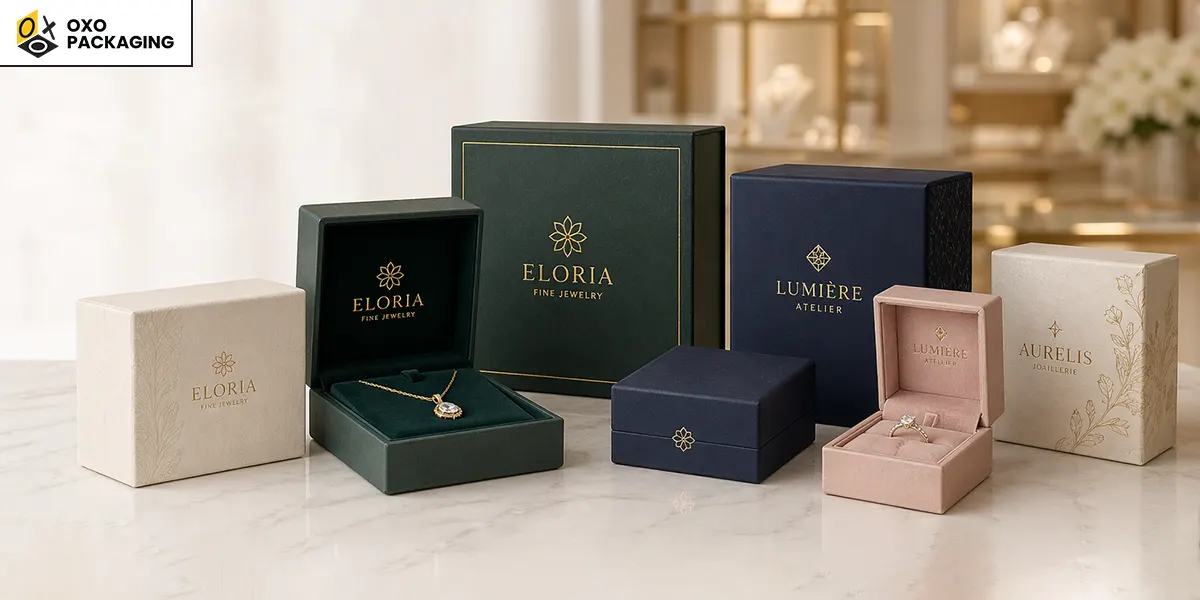
Your jewelry packaging is a direct reflection of your brand’s quality. So if you choose a jewelry box customized with your brand logo, catchy graphics, and detailed artwork, it will serve as a “symbol of status” for buyers.
It’s a simple psychological fact that when buyers see custom jewellery boxes, they immediately associate them with high-quality, exclusive jewellery inside. It justifies premium pricing for your jewelry and encourages repeat buying, which strengthens your brand reputation and ROI.
Discover Important Aspects of Customization

When it comes to customizing jewelry boxes, you need to consider several aspects. Have a look at those:
-
Material Selection
Different materials are available for different purposes. Examples include rigid board or chipboard for strength, velvet or suede for luxury, and metal or tin for a classic, durable feel. Rigid boxes are most commonly used for custom luxury jewelry boxes.
-
Structural Design
When it comes to choosing the right structural design for a rigid jewelry box, you must ensure that whatever style you opt for balances your brand identity, protection needs, and budget. The most popular styles are magnetic closures, two-piece, book style, sleeve, and tray.
-
Printing Techniques
Ensure your brand consistency using the right printing techniques, such as offset for high-resolution, precise color matching (PMS). Other options include flexography, digital, screen, and UV printing.
-
Finish Types
Enhance the tactile appeal of your rigid packaging boxes using premium finishes. Enhance color vibrancy with gloss lamination while exuding modern aesthetics using matte lamination. Spot UV, soft-touch, embossing, debossing, and foil stamping are other choices.
-
Sustainability
A significant number of modern buyers, especially in the fashion and luxury sectors, prefer to purchase from brands explicitly committed to sustainability. So if you choose recyclable and biodegradable materials with eco-friendly inks and coatings, you have higher chances of attracting luxury-conscious buyers.
Explore A Step-by-Step Guide to Customize Jewelry Boxes
Since you have gone through all the basic information, now read step-by-step instructions on how to customize jewelry boxes to amplify your branding opportunities:
-
Prep the Box Surface
Use a dry cloth to clean the box while removing dust and oil. Ensure the box surface is dry and free of oily residues for adhesive adherence. Also, remove existing features like hinges and handles before starting.
-
Apply Prime and Paint
After smoothing the box surface, apply a primer that acts as a barrier that prevents soaking into the fibers, as paper is highly absorbent. You can also prevent uneven splotches by spraying paint.
-
Add Custom Designs on the Outside
This is where your branding finally steps into the spotlight. Place key design elements like your logo strategically. Keep them at least 0.125 inches (3.2 mm) away from folds, edges, or hinges to avoid distortion during assembly or use.
You can also use techniques like screen printing, foil stamping, embossing, or digital printing, depending on your budget and desired finish, to enhance the visual appeal of your boxes.
-
Decorate with Embellishments
If your brand leans toward artistic or gift-worthy appeal, embellishments can elevate the entire experience. Use specialty papers, textured overlays, or transfer designs to add depth and personality.
Elements like ribbons, magnetic closures, or metallic accents can even turn your simple jewelry box into something customers hesitate to throw away (which is exactly what you want). Just don’t overdo it; too many embellishments can shift your box from “luxury” to “craft project.”
-
Create Interior Lining
The box outside attracts buyer attention, but the inside delivers the experience. Choose soft, protective materials like velvet, satin, or suede for lining. These not only protect delicate jewelry but also enhance the perceived value of your product.
However, color contrast matters here, such as pairing a neutral exterior with a rich interior (like deep black or royal blue), which creates a memorable unboxing moment.
-
Add Dividers or Compartments
Not all jewelry plays nicely together. Items such as rings, necklaces, and earrings need their own space to avoid tangling or scratching. Hence, add custom inserts or compartments to organize the contents while reinforcing your brand’s attention to detail.
You can use foam inserts, molded trays, or fabric-wrapped dividers as common choices. Put simply, custom jewelry box inserts are not optional as it is an important part of the customer experience.
-
Attach Functional Components
Now bring everything together. Reattach hinges, magnets, ribbons, or clasps that enhance usability. Magnetic closures are especially popular for premium boxes, while ribbon pulls add both function and a subtle decorative touch. Ensure all components are aligned and securely attached; nothing kills luxury faster than a loose hinge.
Consider Cost Factors in Custom Jewelry Boxes
After knowing how to customize jewelry boxes, keep in mind that customization is powerful, but it can also get expensive fast if you’re not strategic. Here’s what impacts cost the most:
- Material choice: Rigid boxes cost more than folding cartons but offer better durability and perceived value
- Printing technique: Foil stamping, embossing, and UV coating increase costs compared to standard printing
- Order quantity: Wholesale orders significantly reduce per-unit cost. It means if you order personalized jewelry boxes in bulk, you can save a significant budget.
- Add-ons: Inserts, magnets, ribbons, and specialty finishes all add up to high cost expenditure.
Tidbit: The key is balance. Invest where it directly enhances customer perception and skip what doesn’t add real value.
How to Choose a Reliable Jewelry Box Manufacturer?
Your custom packaging manufacturer isn’t just a supplier; they’re a partner in your brand presentation. So choose wisely by looking for a manufacturer that has experience with custom packaging and jewelry-specific designs. OXO Packaging is one of the most reliable manufacturers that meet this criterion. Contact us to order perfectly customized jewelry boxes
Customizing jewelry boxes elevates your brand by building instant recognition, increasing perceived value, and creating a memorable, "Instagrammable" unboxing experience that drives customer loyalty.
Customizing jewelry boxes typically costs between $0.10 and $5.00+ per unit for wholesale. However, the cost majorly depends on branded packaging, depending on materials, size, and order volume.
Common printing methods for custom jewelry boxes include offset printing for high-quality, full-color designs and digital printing for short-run, fast-turnaround, or personalized projects. Screen printing is ideal for bold logos on varied materials.
Choosing the right jewelry box size requires assessing your collection size, types of jewelry, and available storage space. Measure your largest pieces, including height for rings, and add ¼ inch of clearance.
